Feature Importance with Beam - Find the ML Features to use in your Forecasts
Use the View ML Features option in Beam to find important features
Harness the power of events in your forecast by incorporating machine learning (ML) features for events into your models. Creating new ML features can be time-consuming and expensive, often requiring significant effort from data scientists, data engineers, and others. PredictHQ provides a toolkit to allow you to easily integrate prebuilt, forecast-ready ML features with our Demand Analysis tool, Beam, and the Features API.
To do this quickly and easily, the first step is to upload your aggregated demand data into Beam through our web application Control Center or via the Beam API. Beam, our demand analysis tool, returns category importance results (also known as feature importance) for individual business locations as well as large groups.
Category importance uses our underlying Feature Importance API and is generated from an analysis of the relevance of the results of that API. Under the hood in Beam, we have a list of ML features and their p-values.
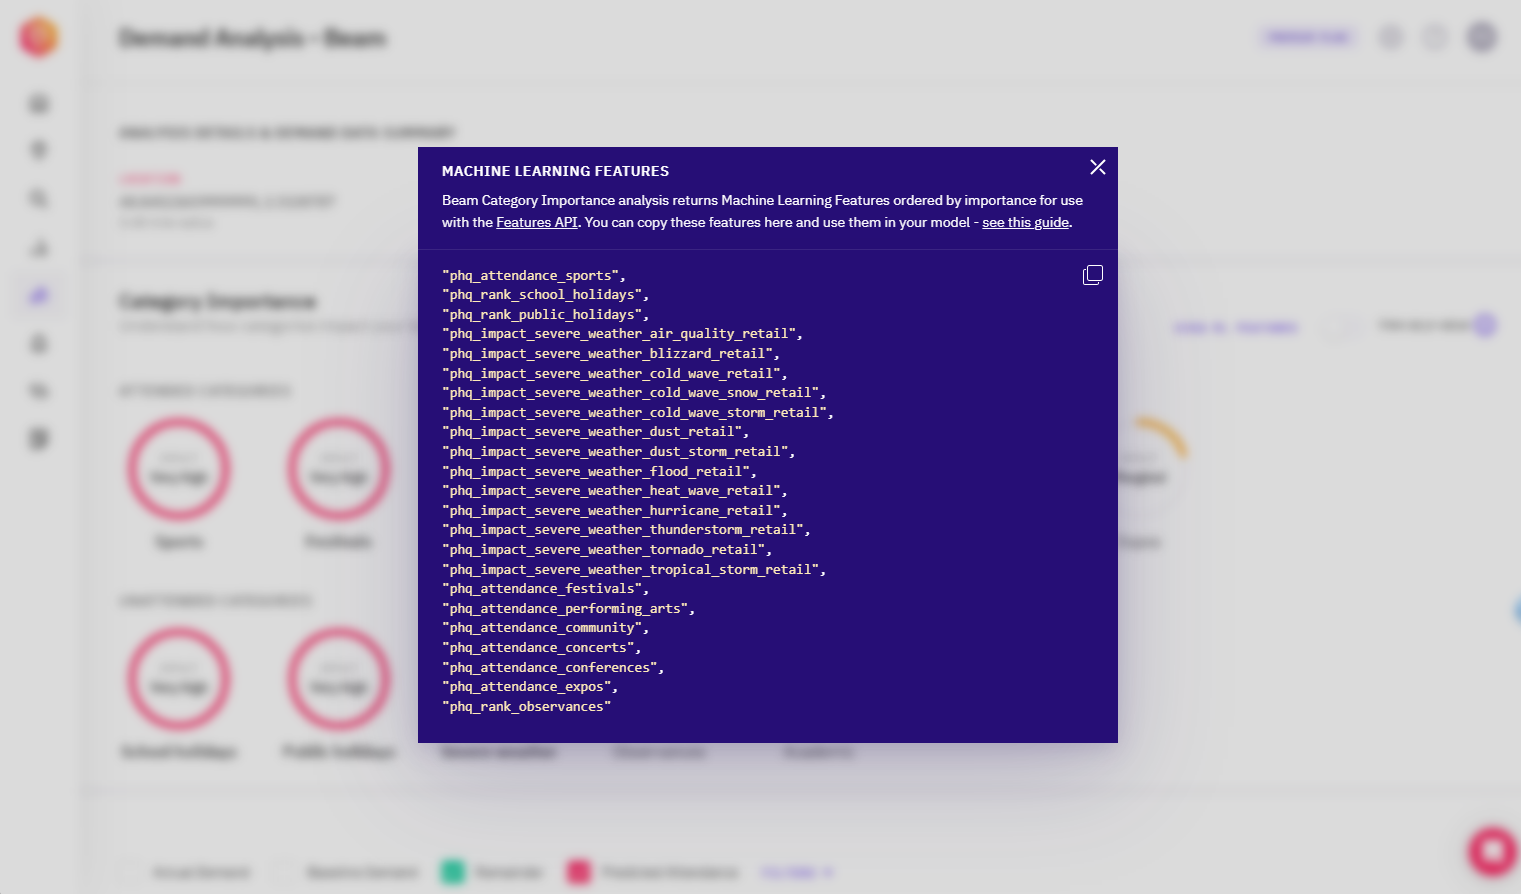
To improve the accuracy of your forecasts, start by incorporating event-based ML features into your models. Open an individual Beam analysis or analysis group and you will see the "View ML Features" option. This provides a list of ML features that you can use to train your models. You can copy these features and use them in your code as described in our Get ML Features guide. The features are listed in order of the most impactful to least impactful (sorted by p-value).
Below is a screenshot showing the new "View ML Features" dialog:
Here’s how to use Beam and the Features API for your forecast in five simple steps:
Run Beam across your locations and create a group to get feature importance results to identify the top 5 or 10 most impactful features.
In Control Center, open a Beam Analysis for your group and click on "VIEW ML FEATURES" to access a list of the most impactful features.
Copy the ML features. Features are ordered by their p-values.
Call the Features API (see the Get ML Features guide) to download historical event features to train your model across all your locations.
Train the ML Model.
Integrate calls to the Features API in your pipeline and pass values to the model for the future-facing period they are forecasting.
Deploy the updated model to production.
If you want to see more details than what is returned by the "View ML Features" option in Control Center, you can call Get Feature Importance in the Beam API.